Digital Shower Waterproofing Verification: Protect the Details Before Tile Hides Them
How photo-based checkpoints and disciplined shower waterproofing verification help MA and RI renovation projects protect critical wet-area details before tile installation.
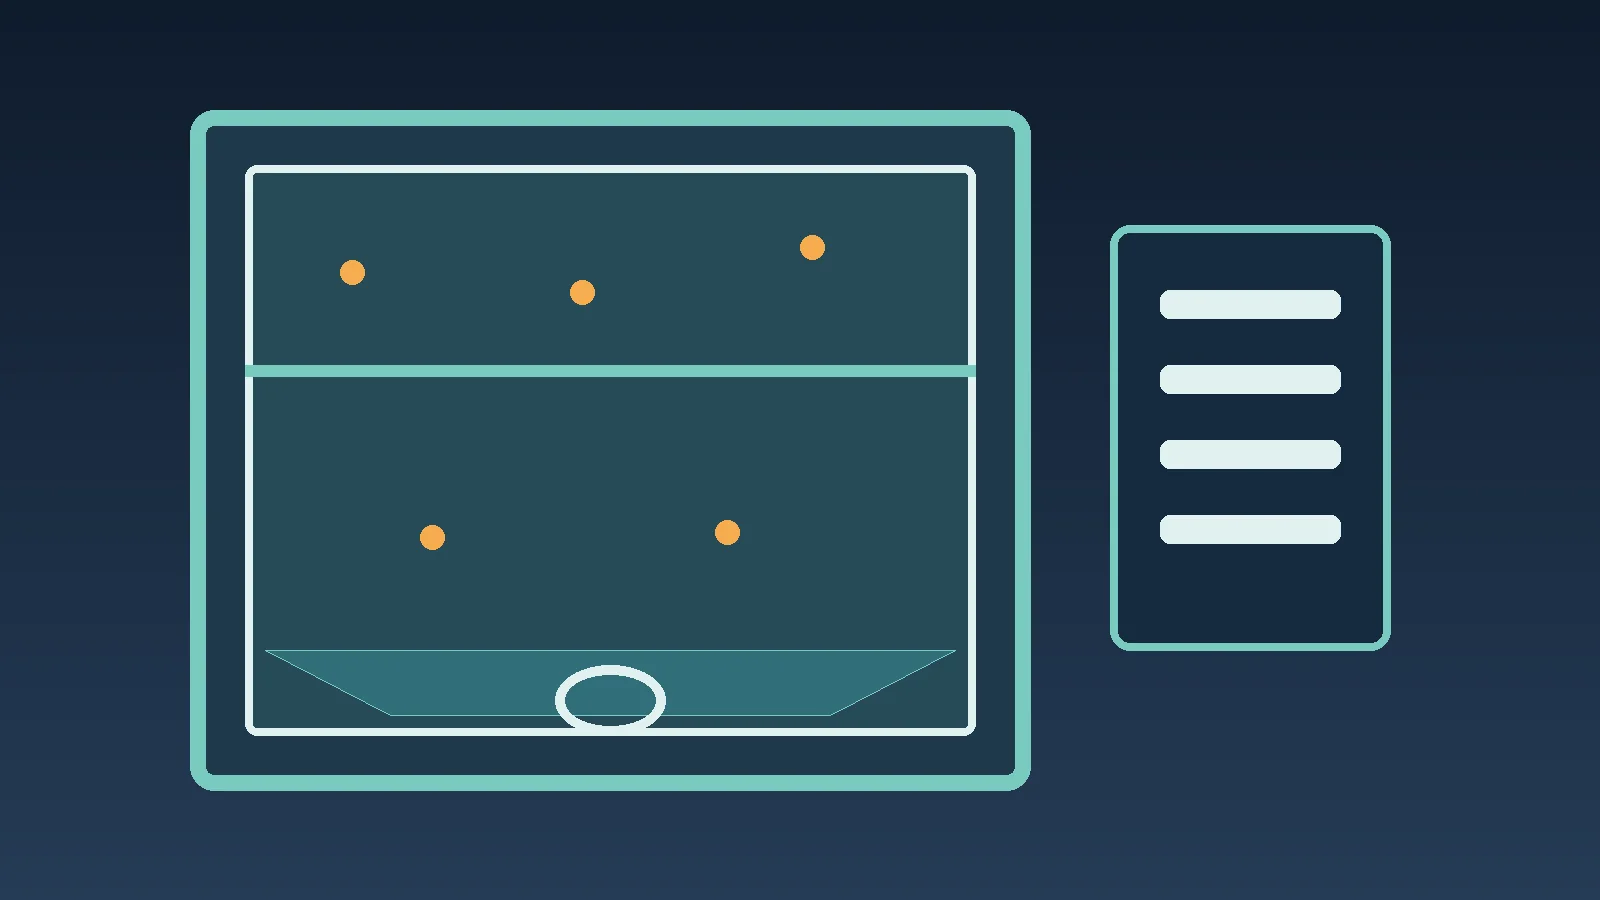
A finished shower cannot show the work that keeps water where it belongs
A new shower can look excellent on the day grout is sealed, yet the most important decisions were made earlier. The drain connection, pan or membrane, corners, penetrations, niche treatment and transitions to the surrounding wall are concealed by tile. For a bathroom renovation in Massachusetts or Rhode Island, digital verification creates a short, organized record of those details while they remain visible. It is not a substitute for qualified installation, manufacturer instructions or required inspections. It is a practical quality-control habit that gives the owner and builder a clearer basis for discussing a high-consequence part of the project.
What a useful digital record includes
The useful version is disciplined rather than elaborate. Before tile begins, the project team identifies the shower system, captures wide photos that show the complete enclosure, takes close images of transitions and penetrations, and records the date and project location. If the system requires a flood test or other manufacturer-directed check, the record should note the method, duration and result in plain language. Random photos taken after the fact are not the same as a record. The value comes from a repeatable sequence that follows the selected system and its installation instructions.
Start with the approved assembly
Waterproofing verification begins before materials arrive. The builder, tile contractor and owner should be aligned on whether the shower uses a sheet membrane, liquid-applied membrane, preformed pan or another compatible assembly. Each system has its own rules for seams, overlaps, corners, drains and cure time. Product compatibility matters as much as the individual parts. A clear preconstruction conversation helps avoid the common problem of mixing components without a defined system. It also makes the later documentation meaningful because the images can be understood in the context of an agreed assembly.
Capture the details that will disappear
A small set of photographs should show the entire pan, drain area, wall-to-pan transition, inside and outside corners, curb or threshold, plumbing penetrations and recessed niches. Wide views establish location. Close views show the lap sequence and continuity of the waterproofing. If the project includes a bench, linear drain or complex glass enclosure, those locations deserve intentional review because they create additional changes in plane and penetrations. The goal is not to produce a photo album. It is to preserve the evidence that a future owner, service professional or project manager would actually need.
Treat testing as a checkpoint, not theater
Where a test is appropriate, it should be planned around the system and the project schedule. A flood test may reveal an issue before tile makes correction expensive, but the result must be interpreted and documented responsibly. Note the date, the area tested and the next step if something needs attention. Never present one image or one measurement as a blanket guarantee that a shower will never need maintenance. Good construction work uses verification to catch concerns at the right time. It does not turn a process check into an absolute promise.
Coordinate the handoff to tile
The transition from waterproofing to tile is an irreversible point in the schedule. Before setting begins, the superintendent can confirm that the intended review is complete, any corrections have been resolved and materials have had the required cure time. This is also a good time to coordinate tile layout, drain alignment, fixture locations and glass dimensions. Clear handoffs reduce the chance that a later trade damages a finished waterproofing layer while trying to solve a layout problem. Technology helps because the record makes the decision visible to everyone who needs to know.
Why this matters in an occupied renovation
Bathroom work often happens close to bedrooms, hallways and family routines. A concealed water-management mistake can be especially disruptive when the room is part of a larger renovation or an older home. A documented process supports communication without asking the owner to supervise the crew. The owner can understand what is being reviewed, when tile will cover the work and what will be included at closeout. That clarity is valuable whether the project is a compact hall bath, a primary-suite renovation or a new custom home.
Keep closeout concise and useful
At handoff, the bathroom record can include selected installation images, product information, care guidance and a note of any significant correction that was completed. It should not be hundreds of unnamed files. A concise record can help if a future owner replaces a fixture, plans an accessibility upgrade or needs to understand where a niche or valve was installed. It also reinforces a simple principle: work that will be hidden deserves careful review before it is hidden.
Plan the verification before demolition begins
Elarkx coordinates custom homes, additions and renovations with attention to durable assemblies, practical sequencing and clear communication. For projects across Massachusetts and Rhode Island, we can discuss how shower waterproofing, finish coordination and closeout documentation fit into a well-planned scope. The best time to establish the process is before the existing bathroom is opened and before a tile date is on the calendar.
Related reading: Digital life-safety commissioning and digital window flashing documentation.